Showing posts with label DIY. Show all posts

Friday, May 10, 2013

Happy Mother's Day!

Every day you learn something new right? Well today I learned that it's Mother's day in Latin American countries! So, happy mother's day to all you spicy Latinas out there! Haha. Anyways, JAM is in this stage where he's forever making me crafts. My brain almost exploded a little bit the other day when he presented me with a "your the best mom ever" card decorated with the expensive crafting beads I just bought that morning. *sigh* How can you get mad for him attempting to do something nice? Even though he knows better not to touch other peoples things without asking....

Well, he's been hyping up this awesome project he's supposedly concocting for mother's day. I hid everything I didn't want included in his "concoction" by the way haha. I never really get surprises since I'm the one in my family that organizes all events and celebrations so I'm actually excited to receive his little project. Last year I volunteered in his Kindergarten class a lot and I led his class' mother's day project. It was super easy to do with the kids. When I say easy, I mean EASY. I was the only one making this with a class of 26 kiddos while JAM's teacher got some "teacher" work done.

 Clothespin Butterflies


What You'll Need:
* A clothespin
* A long pipe cleaner
* Markers
* A pair of small googly eyes
* A snack-sized sandwich bag that ziplocks (regular sized bags work too)
* 1 or 2 snacks of  your choice

Directions:
  1. Have your child color the clothespin with markers. Try to guide them with color choices and overlapping colors so that the clothespin doesn't end up being a black or brown mess of overlapping color.
  2. Help your child add the tiny googly eyes to the clothespin on the end where the clothespin pinches or clamps down (NOT the side that you squeeze to open the clothespin).
  3. Fill the sandwich bag halfway with the snack(s) of your choice. If your adding two snacks, put one snack on each side of the bag. 
  4. If you have two snacks, keep them separated as you ziplock the sandwich bag. Release all the excess air inside as you zip it closed as well.
  5. Vertically pinch the sandwich bag in the center and place the clothespin where you are pinching. The sandwich bag full of snacks should now look like the wings of the butterfly.
  6. Take the pipe cleaner and have your child fold it into a "v-shape". Take each end of the "V" and have your child twirl it around their finger once or twice and release to give the pipe cleaner spiral ends.
  7. Take the tip of the "V" and pinch it with the clothespin.
  8. VoilĂ ! A cute butterfly to give to mom!

JAM's teacher found a poem online to pair with the clothespin butterfly. We folded and decorated construction paper to glue the poem into to make it look more presentable. 

The craft was a hit in JAM's class! So much that we had to make another one just for the kids to enjoy during snack time so they wouldn't eat mom's. I'd say that only tedious part was the googly eyes. Those suckers had sticker backs and the backing refused to peel off! It didn't help that they were so small either and I had acrylic nails on so I had no way to pick off the sticker well. Besides that, we were good to go! We let the kids choose between filling the sandwich bags with cheez-its, fruit snacks, or fruit loops. You can fill it with some of mom's favorite snacks but these snack choices were the easiest for their nut-free school. Hopefully you can just redirect dad to this post so you don't have to help the kid's make it. It is a gift for YOU after all. Well, again, Happy Mother's Day to all you lovely superwomen out there. We don't always get the credit or recognition we deserve, but that's not why we do the things we do. Not many people can say that they'll cook, clean, referee, drive, teach, or look after children for free or get paid with love and backlash. We're a special group of people that I feel make the world go round. If you're like me, I'm sure you won't have your feet up 100% of the time on Mother's day, but I hope you get a little TLC on your day. You deserve it!


What are your Mother's Day plans?


Tuesday, July 10, 2012

My Life Organizer: Includes 2 FREE Printables!

Woo! So sorry for the delayed post. My third surge of family visits this month just came so I had to put blogging on hold for a few days. Which brings me to the subject of my next post, my life organizer! Every year I always bought a new planner from Walmart to stay organized in addition to the calendars I had all around the place. However, I always had things all around the house and I always have so much to remember that even if I write it down I still misplace the piece of paper I wrote it on. If it weren't for this life saver I put together, my life would be allllll over the place. If you look around online or on Pinterest you'll see a lot of moms and women who have set up a similar set-up and call it a home control binder. None were suiting enough for my lifestyle so I decided to create my own Life Organizer.

I started off with basic filing topics and added more as I needed:
*Bills
*Personal Calendar
*JAM's Calendar
*Contacts
*To Do/ DIY
*Family Reunion Planning
*Emergency Info
*Coupons (Coming Soon)
*Business Cards (Coming Soon)

I made dividers out of cardstock simply because I love color and the simple tabs you can buy from the store didn't fulfill my needs =p. Then i decorated my dividers with leftover scrapbooking stickers and cutouts from magazine that inspires me and fits the topic of my tabs.

Some of the contents of my life organizer are repetitive, but I'm a real visual person and I liked the idea of separating certain ideas. For example, in my bills section I have a monthly calendar so i can record when my bills are due and budget my weeks based on what is due that week. I also have a bill sheet for every bill I pay so I can record when I paid it, how much I paid, and record confirmation or transaction numbers for any online payments I do. At the top I also have the company's info and my account number so I have all of that in one place if I ever had to refer to it. To learn how to make your own simple monthly calendars, check out this video. If you want ones that are already pre-made you can visit Calendar Labs for simple monthly calendars. If you are also interested in tracking your bills with the bill sheet, I found it at DIY planner.


I also have another calendar in my "personal calendar" section. Bills are stressful enough so I wanted to separate it from my personal calendar. This section helps me keep track of birthdays, holidays, college life, or any other important dates and events going on. Since I have such a big family, we're really big on birthdays so I added a separate birthday chart with their names in the appropriate spaces and the year they were born. Tracking the year is easier for me than their age since it never changes. I just do the math to find out their current age. Once I was done I printed out a copy for the rest of my family to help them keep track as well. I wanted my personal calendar to stand out and suite my personality a little so I found this cute calendar on Tip Junkie that had cute designs to match the month. I found the coordinating birthday chart on Executive Homemaker.

The next tab I created was a calendar for JAM (can you tell by now that I love calendars and repetition hehe). With him starting elementary school, his extracurricular activities, and making friends who invite him to birthday parties, it was necessary for him to have a calendar of his own. I found this cute calendar from Silly Bee's Chickadees that had fun holidays on it that JAM found amusing like Dress Up Your Pet Day, Dr. Seuss Day, and Star Wars Day.

Now, when I made my contacts tab, I searched high and low for the perfect contact sheet. I tried to make some of them work for me but it either had info spaces I didn't need or didn't have info spaces I wanted. I used to backup my phone and maintain my phonebook online on my email until one day I logged on and ALL my contacts were gone after keeping it there for 10+ years. So, I went back old school and decided to manually write down my contacts. Since I didn't find a contact sheet that suited my needs, I made my own on Microsoft Word simply by making a table. Instead of making a sheet for every letter of the alphabet, I did one for every two letters and made a blank sheet at the end to add on to each letter section. Here's my personal contact sheet that I made.

MY FIRST FREE PRINTABLE YAY! I'm so excited! It's nothing fancy, but if you want to download it feel FREE to do so and edit it to your liking. Click here to download. I added the (__) phone option to fill in the parenthesis with any extra phones numbers (IE. Work 2, Cell 2, Pager) that someone might have.

Now my To Do/DIY tab is a diamond in the rough. It kind of became more of my inspiration section. I do have a cute to do list that I printed from Good Gravy Designs, but I also have random brainstorming sheets, cutouts from magazine of things I want to try, important documents, inventory documents and everything in between. It's not enough to divide into individual sections just yet, but I know I will eventually.

I'm planning our first cousins reunion this weekend so in addition to the To Do list above, I also set up a tab for all my family reunion planning. I put the guest list, food list, house contracts, etc. in this section so everything is in one spot whenever I need to refer to it (which is pretty frequently). Another tab in My Life Organizer is my emergency info tab. I'd have to say that this would probably be the most important tab in my binder. I don't have someone babysit JAM often, but for the times that I do I've printed out 2 copies of everything in this section. It contains a first-aid checklist that I go through once a month to make sure my first aid caddy (more on this later) is filled, a print out of what to do if someone is choking or requires CPR, and my babysitter information sheet that I put together. This sheet has everything anyone would need to know in case of an emergency: Parent's info, household info (including directions to the home just in case an emergency operator needs specific directions through my complicated apartment parking lot), personal emergency contacts, info about JAM, his pediatrician and dentist, the closest medical facilities that accept his insurance like the hospital and pharmacy, veterinarian info just in case there's a pet emergency, and last but not least, an emergency treatment release just in case the sitter has to take JAM to the hospital or something for a serious matter that I can't get to right away. I still have to do my research to see if I have to get this release notarized or something to make it official, but I still provide it just in case. In an emergency sometimes it's hard to even remember the number for 911, let alone the number for poison control so this is when the Babysitter Information Sheet comes in handy. Usually the people who babysit JAM are CPR certified, but just in case someone needs it during an emergency I ask people to read through the choking/CPR procedures when they have some downtime. If this sheet is something you're interested in NO WORRIES! I'm allowing you to download the Babysitter Information Sheet here! Yay for another FREE printable!!

Well there you go. My Life Organizer. I hope this helps some of you get all your important  documents together and keep your life organized. I decided to add a a couponing section to my Organizer as well as adding a place to get all the business cards that I receive and want to keep in one, easily accessible place. A few more fun add-ons  for a Life Organizer are binder pockets to hold all those smaller things that can't be punch-holed and/or business card holders that you can both find on Amazon. Don't wait to get this binder started! Think about things that you organize and do on a weekly basis and go from there as a way to assign your tabs. You don't have to get it all done in one day. Built it little my little. You can even make it into a binder that you leave in a common area for the whole family to access so that everyone stays organized and uses this binder as a way to communicate and be in the know. So, what are some tabs that are going into your Life Organizer?

Sunday, June 3, 2012

DIY: Laundry Detergent

So as I've gotten older, I've gained a new appreciation for DIY. Aside from the fact that most of the time it's budget friendly, it's also really fun to do many DIY projects! I've been doing DIY things little by little, but I think my biggest accomplishment yet was making my own laundry detergent! Yes, just like most of my friends and family they immediately thought I was crazy, BUT trust me, it's soooooo easy! The more people saw me use it, the more they were intrigued by my newest project. So I just decided to share it with all of you! I searched low and high for many variations of making it and compiled a recipe that suits my needs the most. FYI all the ingredients are fairly consistent from recipe to recipe, but you can simply adjust the amount you add of each ingredient. I live in Las Vegas, NV where are water is really hard so I adjusted the recipe to compensate. I also added these specific measurements because Mahal works for a tire company where his uniform gets filthy and JAM is a typical 5 year old who can't seem to keep his clothes clean so I wanted something strong to get all that nastiness out. Let's get started!

Ingredients:

  • Borax
  • Super Washing Soda (not Baking Soda)
  • a Bar of Fels Naptha
  • Cheese Grater
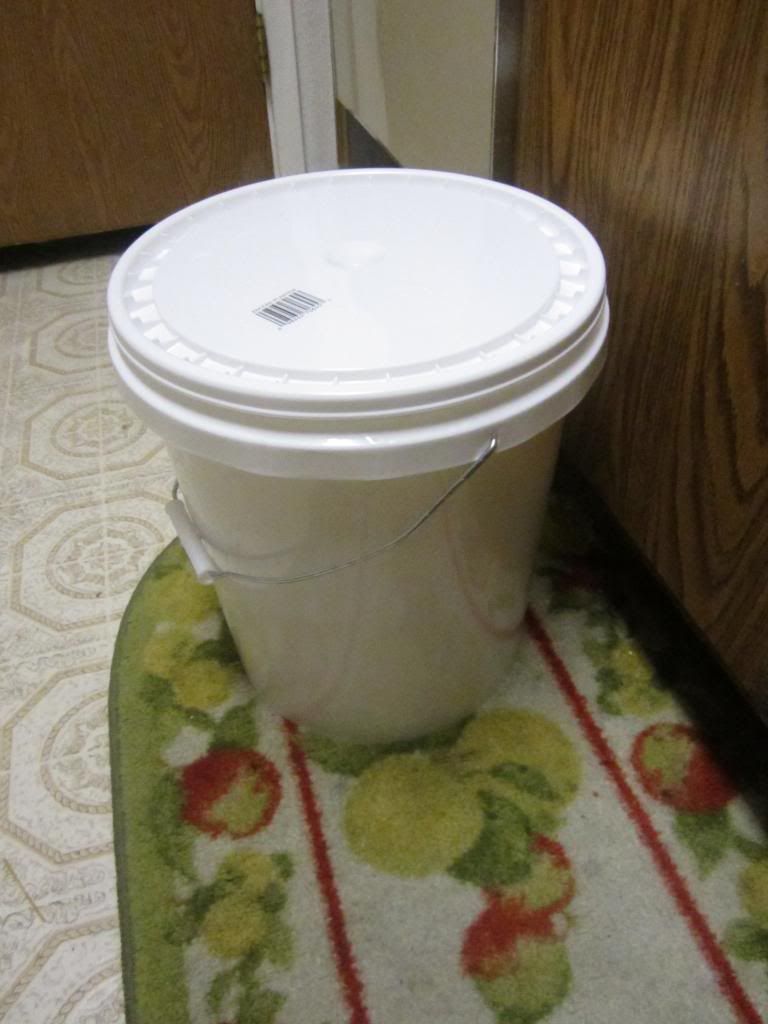
  • 5 Gallon bucket
  • Measuring cups
  • A Pot
  • Spoon with Holes (optional)
  • Funnel (optional)
  • Beverage Dispenser, Old Laundry Container, etc.
Directions:
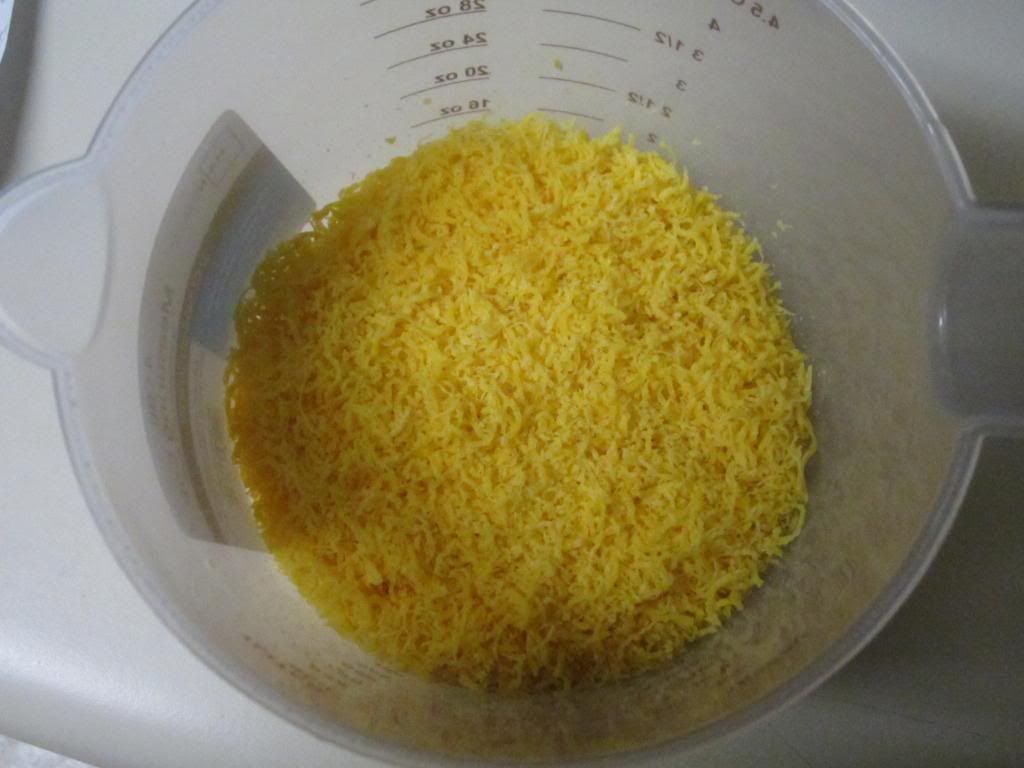
1. Grate bar of Fels Naptha and add it to the pot.
2. Add 1 quart (4 cups) of water to the pot, and melt the soap on low/medium heat.

3. Add melted soap mixture to the 5 gallon bucket.

4. Fill 5 gallon bucket with water halfway.

5. Add 2 cups of Borax to the 5 gallon bucket.
6. Add 2 cups of Super Washing Soda to the 5 gallon bucket and stir the mixture thoroughly.
7. Fill the 5 gallon bucket all the way with water leaving enough room for the lid so it doesn't spill over, and stir again.

8. Cover the bucket with the lid or with cling wrap and let it sit overnight (24 hours).

9. In the morning, stir the detergent some more, breaking up the gelatin clumps at the top (the fenestrated spoon helps with that).

10. Put in desired container.

When I'm done I just transfer it to my old 1.17 US GAL container from my last store bought detergent that I had for easier dispensing, but you can use any container readily available (ie. beverage dispenser with a spout, old water or milk jug, juice bottle with a cap, etc.). I bought all the "equipment" from the dollar store, and all the dry ingredients and 5 gallon bucket from Walmart. I had most of the "equipment" already at home, but I wanted to have separate utensils specifically for this. I found the dry ingredients in the same aisle as the cleaning products and baking soda, not the laundry detergent. The ingredients as a total cost me about $8 and the 5 gallon bucket was about $3 with the lid sold separately making it about $4, but you can also use saran wrap as a cover as well. This is fairly cheap considering I made a 5 gallon batch and I still have enough ingredients to probably make 2 more batches! You can tell already by that how much money this will save you if you used to buy the $15- $20 detergents like me. The consistency of the detergent varies, but it's OK if it comes out very fluid. It will still get the job done. Make sure to break up those gelatin clumps every time you refill you dispensing container, especially if you use one with a spout to make sure it goes through the spout and not clog it.

As you can see this recipe is for liquid laundry detergent since this is what I prefer, but you can make the powder detergent as well by throwing all the dry ingredients in a food processor to finely grate it and use it as you normally would when doing your laundry. Regardless, both types are safe for your HE front-loading washers, since this is a typical question I get. Now a little FYI, soap suds DOES NOT equal cleanliness!! You may open your washer during the rinse cycle or if you have those front load washers where you can see inside, you will notice that this detergent isn't very sudsy. Again, this DOES NOT mean your clothes aren't getting cleaned. It just means that it doesn't have all those extra additives and chemicals to make it super sudsy, but I assure you that your clothes are gonna end up clean, if not cleaner than using the store bought, name brand detergents. Also, since it doesn't have all those extra additives, this homemade detergent just contains the necessary cleaning agents for your laundry so you only need to use about 1 CUP of this detergent. I'm notorious for overusing detergent. Before when I would do my laundry, it came with those little cups that said fill to line #1 for small/normal loads and line #2 for larger/soiled loads....blah blah blah, but the second line was only half of the actual cup and I never felt like that was enough. I always filled the detergent to the top of the cup regardless of the type of load and would sometimes add 2 full cups to Mahal's load of work clothes to make sure it was clean and fresh. With this homemade detergent, this isn't necessary! Trust me. It's hard to break old habits but 1 CUP is all you need. I may add 1 1/2 cups to Mahal's work load sometimes (tee hee) but I try my best to use 1 cup of detergent (and 1 actually measuring cup full not the cup that comes with your detergent bottle naturally).

As a few little side notes, everyone knows that distilled vinegar can be used for soooo many things around the house. Another thing it can be used for is as a fabric softener. I personally use a half a cup of vinegar per load. The vinegar would be added during the rinse cycle in your washer NOT as a fabric softer replacement in your dryer. No worries, you clothes will not come out smelling like vinegar (I was worried about that too). Also, if you're like me, you like to have you clothes clean and smelling great out the wash. This homemade detergent has a natural "clean" smell to it (basically what the Fels Naptha smells like), but I wanted something more, something stronger. So, to solve this issue I learned that you can add ESSENTIAL oils to your homemade detergent to accomplish this. Do not add fragrance oils or anything else but ESSENTIAL oils to your detergent or else it will leave an oil residue or stain on you laundry. You can find this online or where I found it, at Whole Foods. My favorite scents are lavender and citrus! Just add about 20 drops to the container you use for dispensing your detergent. You can add more or less depending on how strong you want the scent to be. I've never tried to add it to my 5 gallon batch since it's easier to play around with the scent strength in your dispensing container.
So many of you have asked how long does the detergent last me and clearly it depends on how much laundry you use and how much detergent you add, but I can put it into a little bit of perspective for you. I do about 6-8 loads of laundry a week (yes, I know I said 6-8). I made this current batch of detergent about a month ago, and from the 5 gallons of detergent that this recipe makes I've only used a little less than half of the detergent! In other words, I've filled up my old 1.17 US GAL container I use for dispensing only twice so far, and I still have about a half a bucket of detergent left! However, I stick to only using 1 Cup of detergent per load. It feels so good when I run out of detergent in my container, and instead of running to the store to buy more, I just go to my bucket to refill!

Well, That's about it! If you have any questions feel free to ask! If you have other variations that work for you please share them below! Hope this recipe helps and saves you some moolah! Let me know how it turns out!