Showing posts with label cake pops. Show all posts

Sunday, September 2, 2012

Recipe: Cake Pops

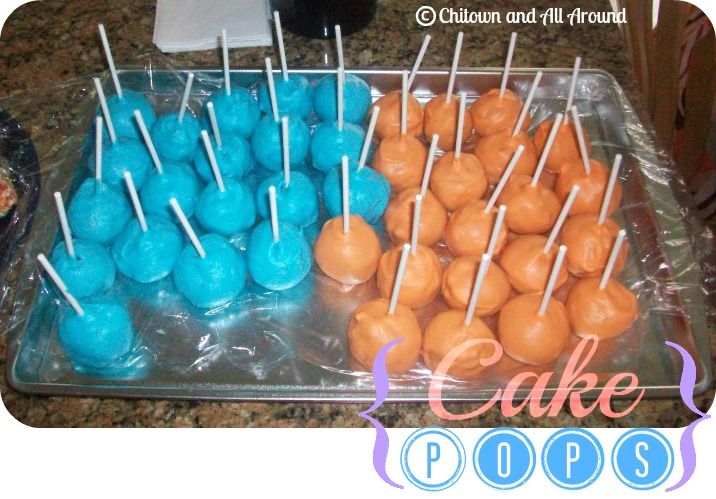
I love to bake all kinds of things and experiment with different recipes, but one of my signature desserts to make is cake pops. My sister introduced it to me about 5 years ago and it became a popular dessert to make once Bakerella started jazzing it up a bit. I started seeing more and more ladies buying the cake pop machine, and although it's my personal opinion, the easy way out isn't always the best way to do things (hehe). I never tried cake pops made from the machine until I attended a baby shower with my best friend and cake pops were the giveaways for the guests. I was so excited to take it home and try it because it looked so cute, I heard it was red velvet, and I wasn't the one who made them for once. However, I was so disappointed when I got home. The cake pops were ridiculously dry! I couldn't figure out why, but then I found out they used a cake pop machine to make them so they didn't mix the cake mix with icing (which is a key component). To each is own, but I'd rather make them by hand. If you always wondered how to make them here you go!


Ingredients:
1 box cake mix (cook as directed on box for 13 X 9 cake)
1 can of frosting (16 oz.)
Wax paper
Candy melts (1 lb. pkg.)
Lollipop sticks 
Styrofoam Bricks (or something to stand the cake pops in to dry)
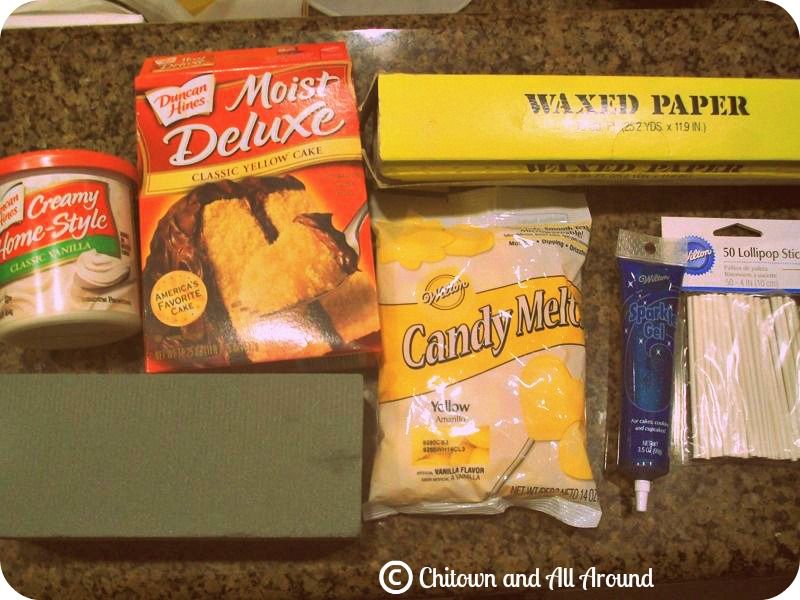

I personally like Duncan Hines cake because the cake is a moist consistency. I've used Pillsbury Strawberry and Funfetti flavor but those tend to be more sweeter. 
Directions:
1. After the cake is cooked and cooled completely, crumble it into large bowl. 
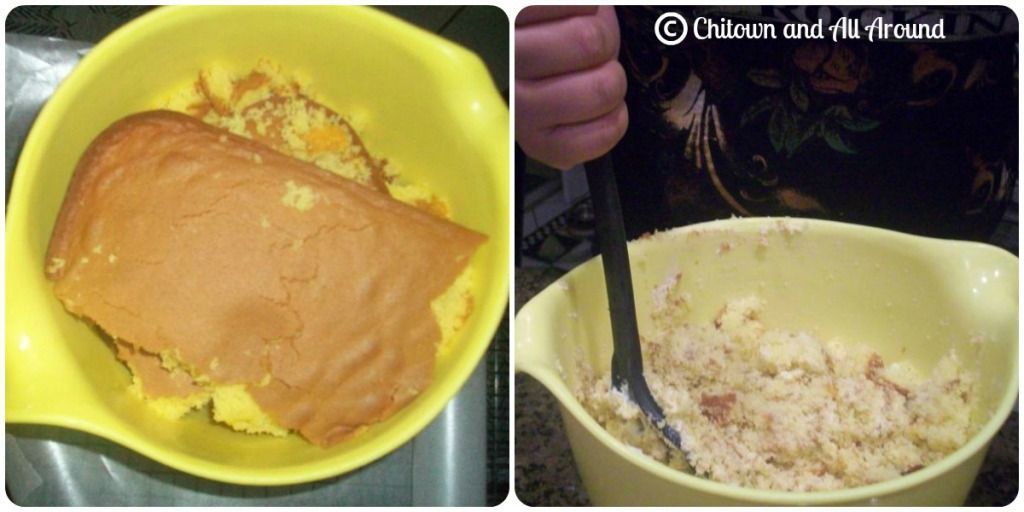
2. Mix cake thoroughly with 1/2 a can of frosting. The consistency should be sticky enough to shape the mixture into balls. If it isn't sticking well add more frosting. TIP: For yellow cake I add 3/4 can of icing sometimes, but beware of adding that much to other flavors such as chocolate and strawberry because the cake is naturally very moist and it will make the cake pop sweeter with too much icing.
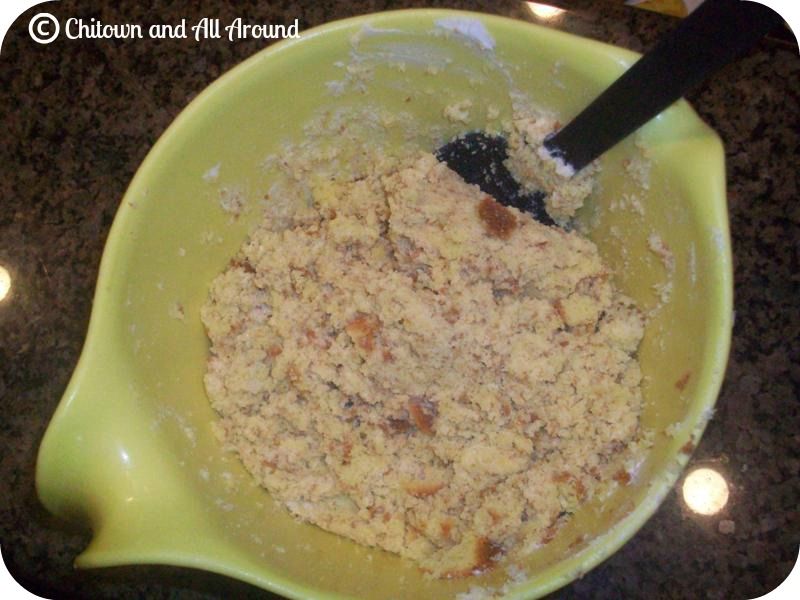
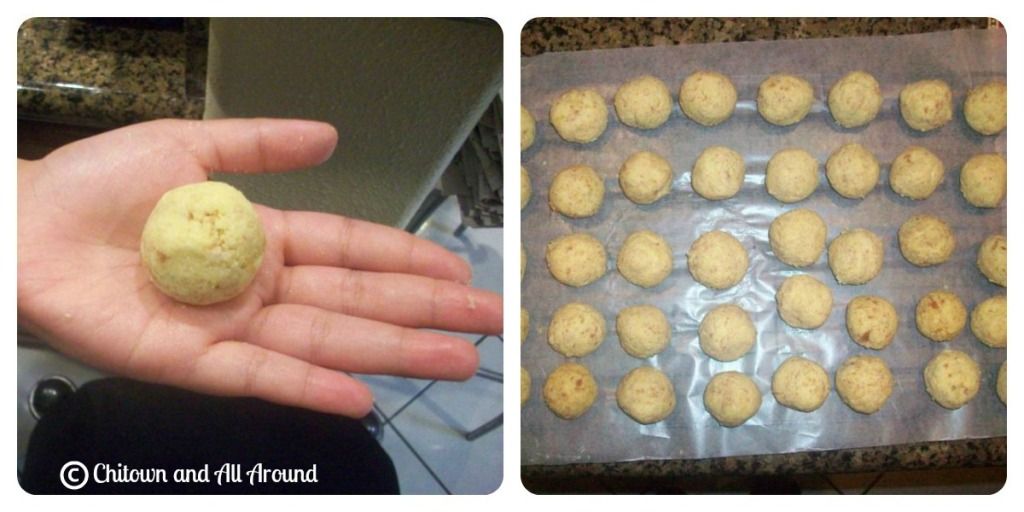
3. Roll mixture into quarter or half dollar size balls (depending how big you want it) and place on a wax paper covered cookie sheet. 
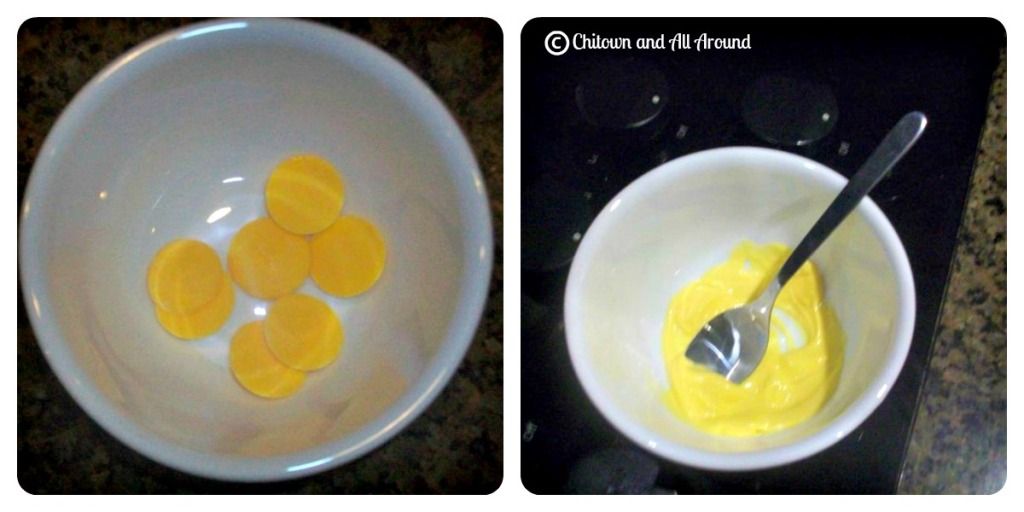
4. Melt about 5-7 chocolate pieces in the microwave per directions on package. 
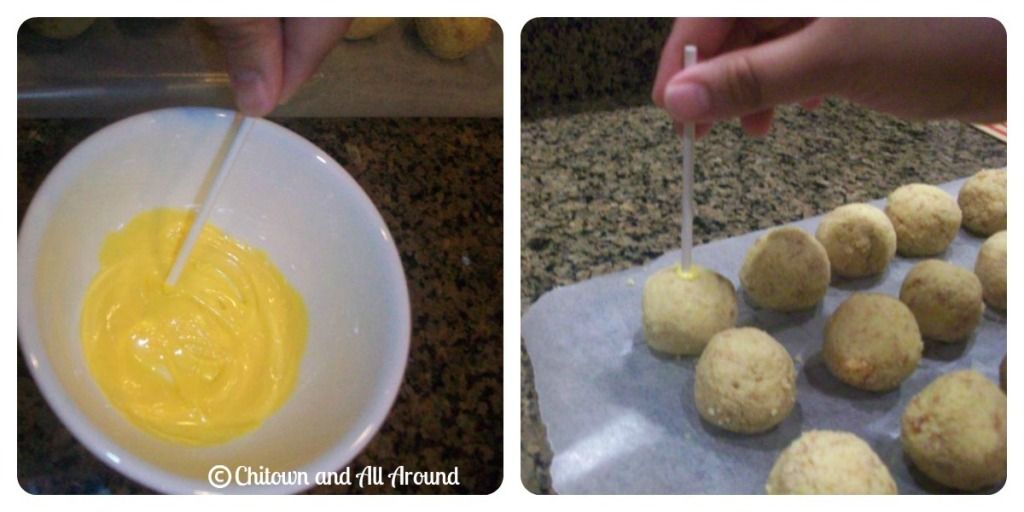
5. Dip the tip of your lollipop stick in a little of the melted candy coating and insert into the cake balls about halfway.
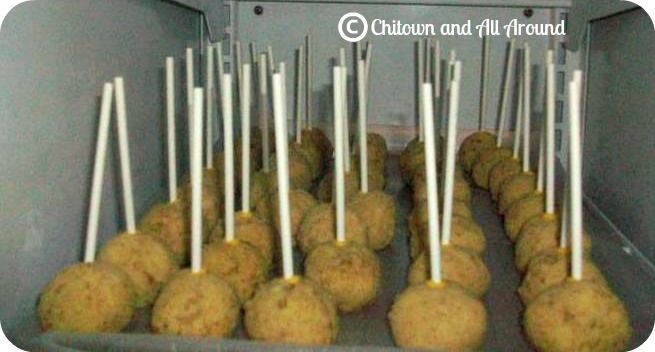
6. Place them in the freezer for about 15 minutes. 
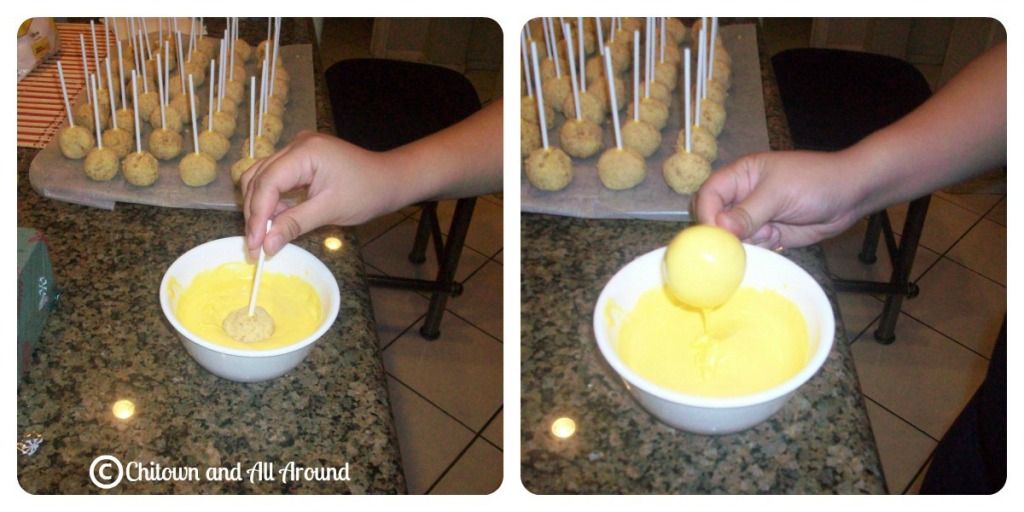
7. Carefully insert the cake ball into the candy coating and softly tap and rotate the cake pop against the edge of the bowl until the excess chocolate falls off. TIP: Don't tap too hard or else the cake ball will fall off the stick! It's all in the wrist ;)
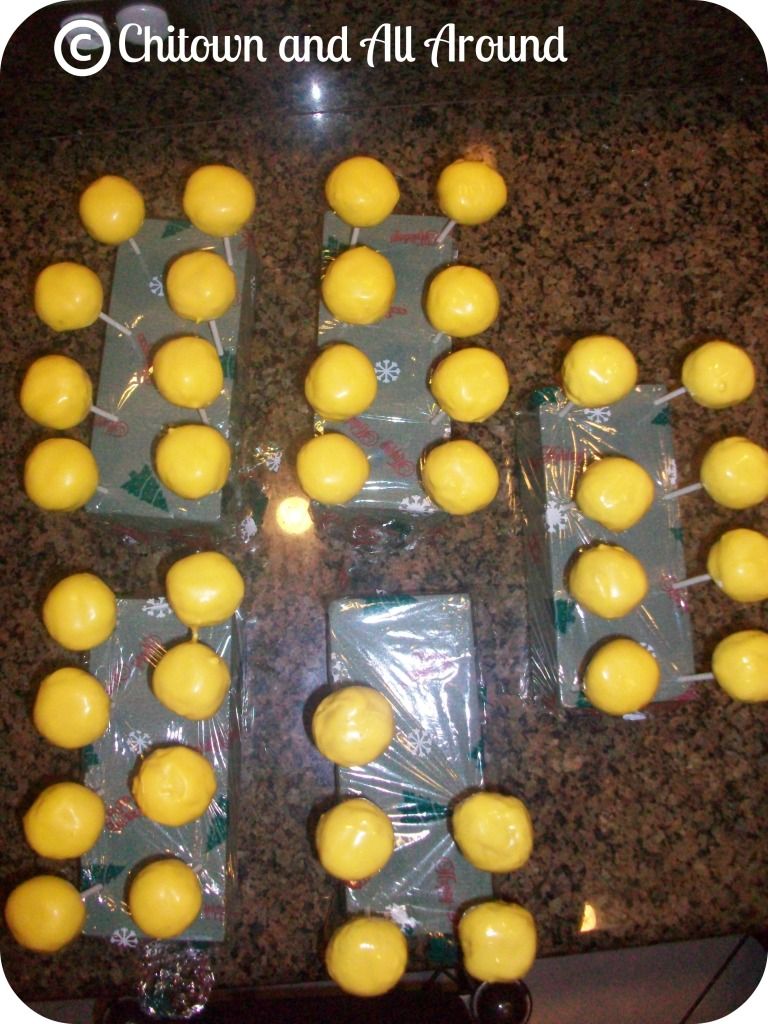
8. Place in a Styrofoam block to dry. If you see cracking in the candy melt as it dries it's usually because you froze it for too long and the confliction with the frozen cake pops and the hot candy melt is causing it to crack. Usually if that happens I just decorate the cake pop to cover it up hehe. TIP: cover the Styrofoam blocks with cling wrap to protect it from the the dripping excess chocolate.
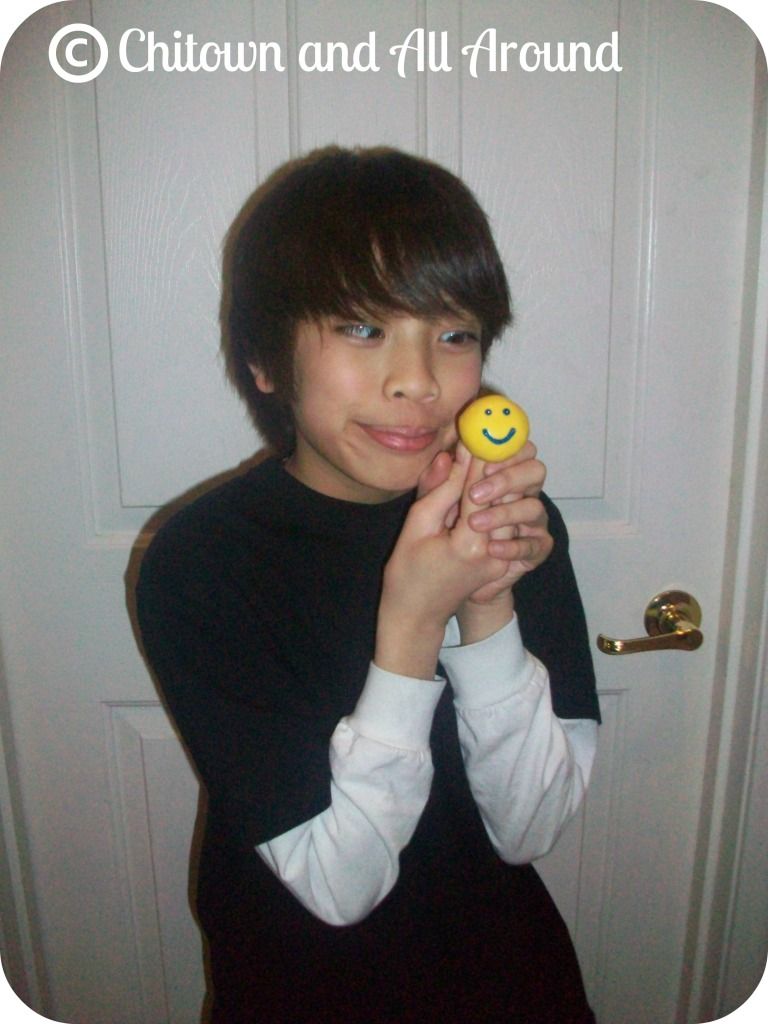
9. Enjoy!

Most of the ingredients can be found at Walmart, but I bought the Styrofoam bricks, candy melt, and lollipop sticks at Michael's. Michael's usually has a better selection in candy melt colors. TIP: all the candy melt is white chocolate except the brown one, which is milk or dark chocolate. I know some people don't like white chocolate so I wanted to give you a heads up.
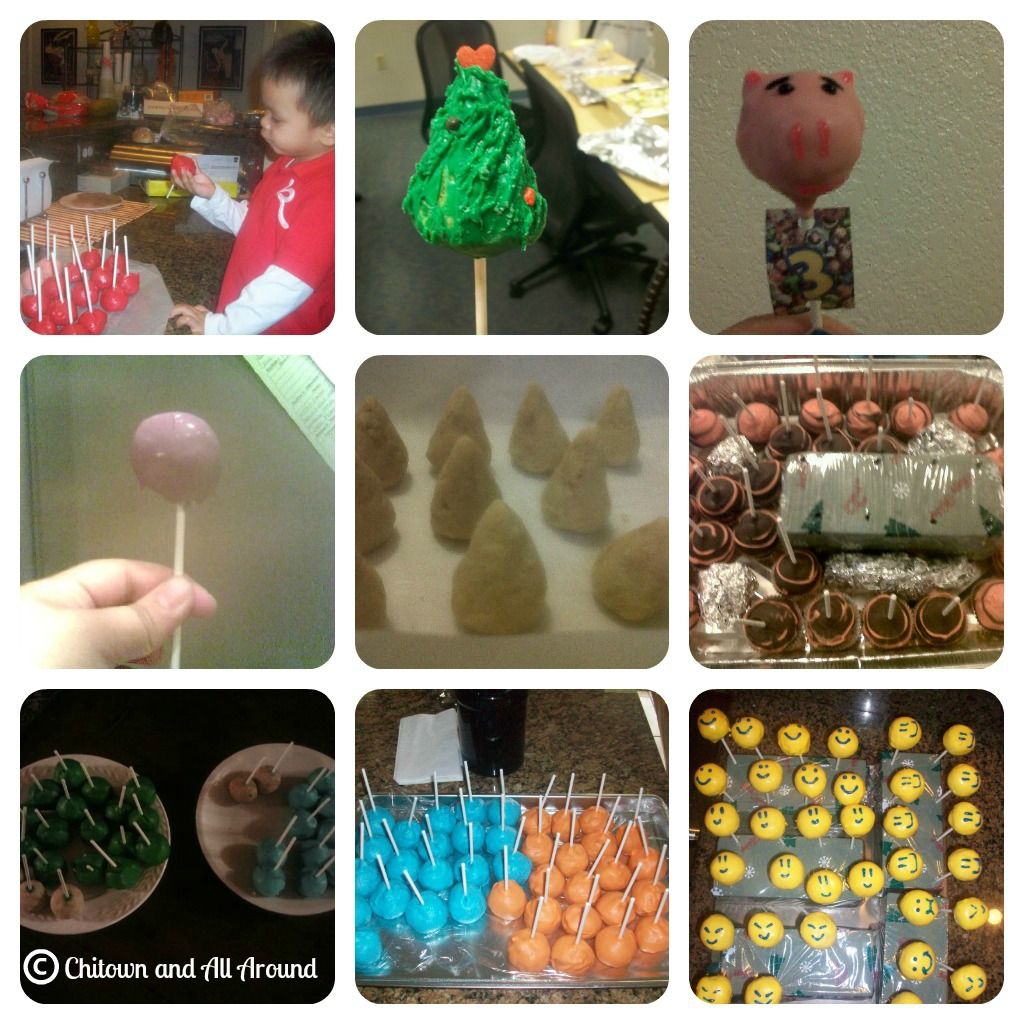
Take a picture of your creation and let me know how it turned out!!

Wednesday, August 29, 2012

To Infinity and Beyond!

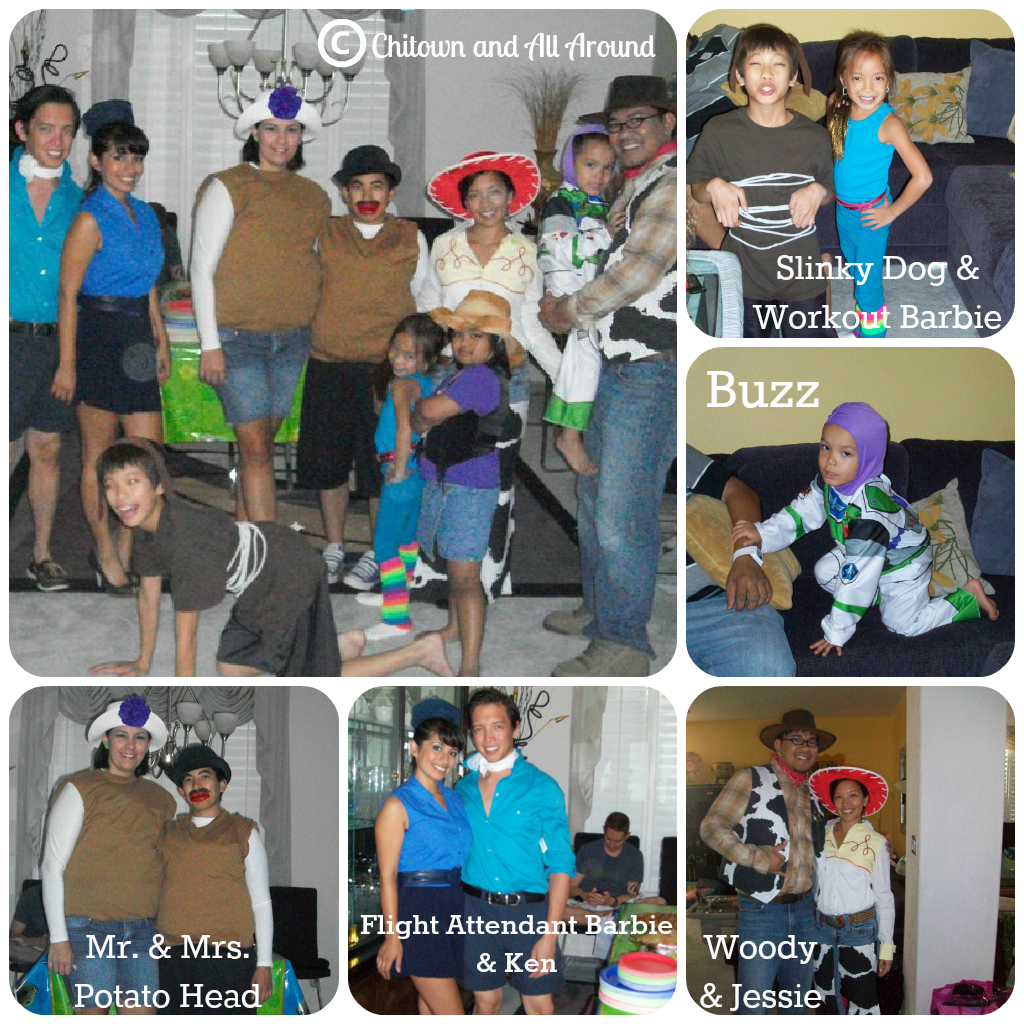
August is filled with MANY birthdays in our family, and the first day of school is no exception. HAPPY BIRTHDAY TO A SPECIAL LITTLE MAMA!! Every year she likes to have a theme for her birthday party, and one theme that was fun for the whole family was her Toy Story 3 party. She requested that everyone dress up like a character from the movie, and my cousin and her family definitely didn't disappoint!

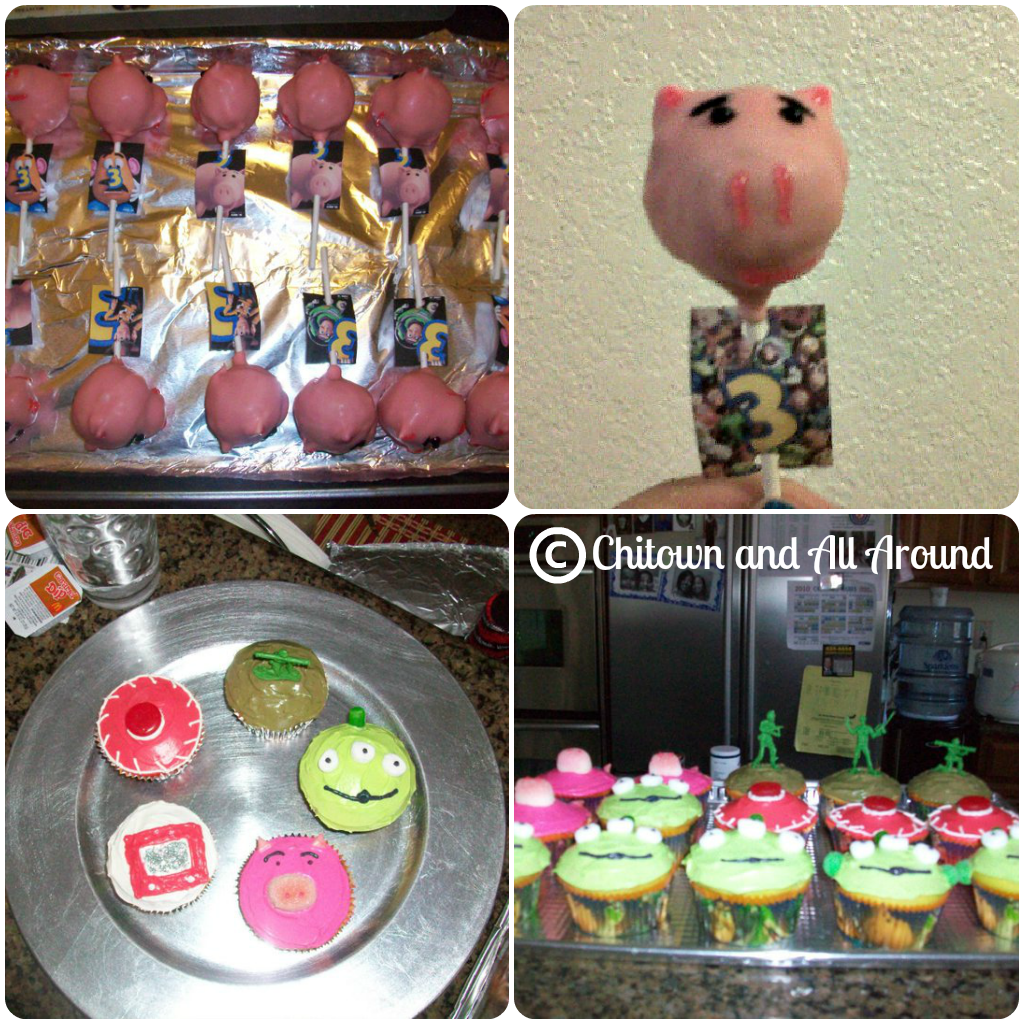
I didn't get a chance to put together a costume, but I came with desserts in hand. I made cake pops in the shape of Hamm's head. I got the tags you see on the cake pop sticks here. My cousin's girlfriend is pretty darn creative as well when it comes to baking! She created the awesome Toy Story inspired cupcakes: an etch-a-sketch, Jessie's hat, toy soldier, little alien, and Hamm. A little icing, candy, and marshmallows go a long way!
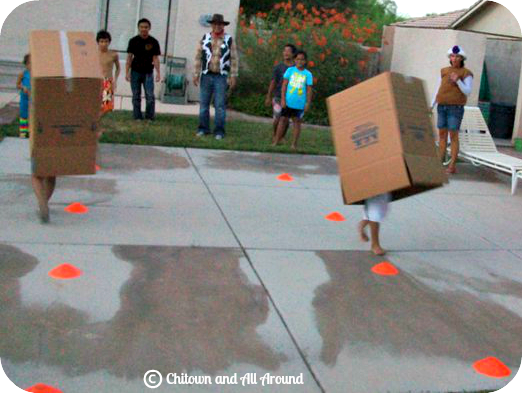
A kid's party isn't complete without party games! My cousin got pretty creative I think. The first game that the kids played was similar to a scene from the movie where the toys were navigating around town from under a cardboard box. For this game the kids were divided into 2  teams and each of them had to take a turn to go through the zig-zag obstacle course of orange cones and back. The first team to have all their teammates complete the course first won! This game was definitely a little funny to watch, and the kids had a ball.

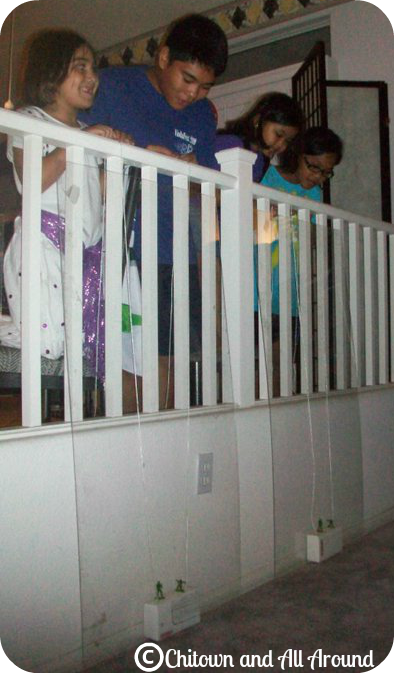
The next game mimicked how the toy soldiers are always climbing up the walls to do missions. We took an old check book box and placed a toy soldier on the right and left end of the box, and there was also a piece of string on each side of the box as well. The object of the game was to work in a team of 2 people and pull the toy soldiers up the banister first using the string without the toy solider falling off. If the toy soldier fell off you have to reset and start over. Easier said than done! Each kid had to hold a string and you had to evenly pull up the string or else the box tilted and the toy soldiers fell. To make it fair, 1 big kid was paired up with 1 little kid. It was definitely a creative game, and the bigger kids enjoyed this game a little more than the little kids due to the technicality of it all.

We finished off the party with some cake and presents, then swam for the rest of the night. All in all a simple yet super fun themed party! Can't wait to see what theme Little Mama requests next year!