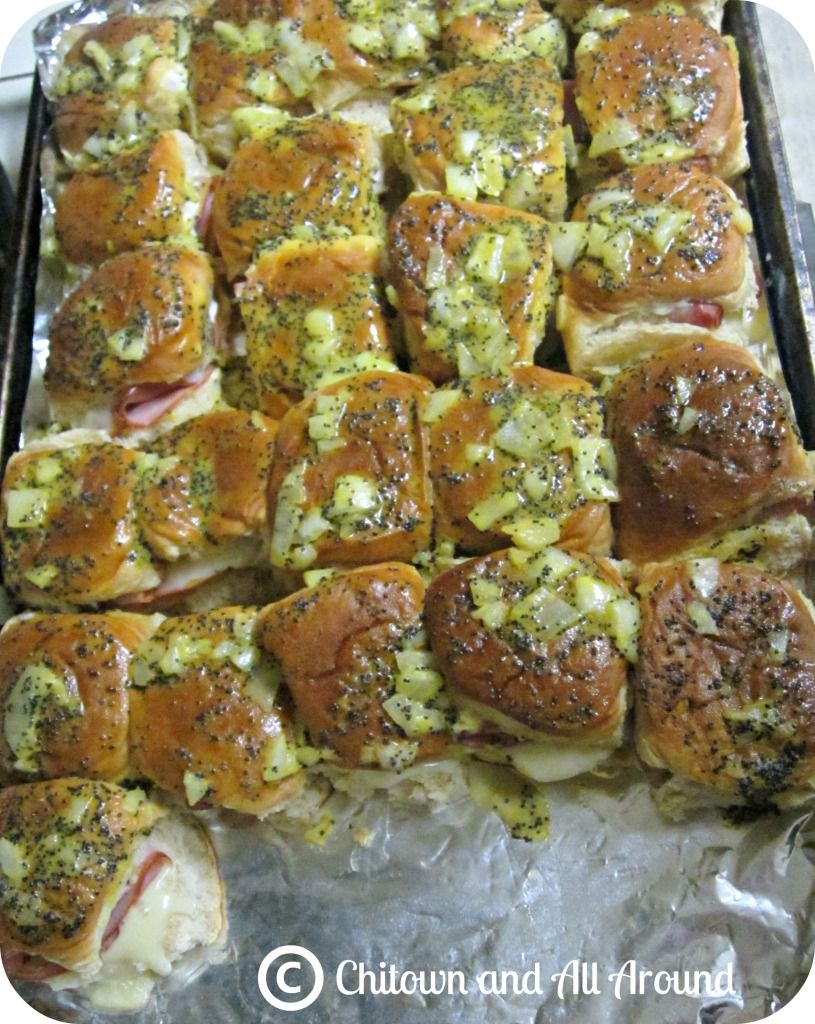
I've pinned recipes from "The Girl Who Ate Everything" before on Pinterest. I must say, I drool every time I visit her page. Being on a really tight budget lately, I needed something that had minimal ingredients and with my busy day yesterday, I needed something that wouldn't take too long to whip up. This recipe definitely didn't disappoint. It's a nice twist on your average mini sliders and SUPER easy to make. JAM even helped me out in preparing it all and loved every minute of it! I tweaked it a bit and used the Hawaiian rolls instead of regular dinner rolls. I'll find any excuse to use Hawaiian bread hehe. Like I said, I'm on a budget so instead of using fancy honey ham, I just bought my favorite brand of honey ham in sandwich meat and folded the slices in half. I also bought square sandwich slices of Swiss cheese and broke them in half to fit the mini sliders. I added one half slice of cheese per slider. Enjoy!
Ham and Cheese Sliders
Ingredients:
24 dinner rolls
24 pieces good honey ham
24 small slices Swiss cheese
1/3 cup mayonnaise
1/3 cup miracle whip
Poppy seed sauce 24 small slices Swiss cheese
1/3 cup mayonnaise
1/3 cup miracle whip
1 Tablespoon poppy seeds
1 1/2 Tablespoons yellow mustard
1/2 cup butter, melted
1 Tablespoon minced onion
1/2 teaspoon Worcestershire sauce
Directions:
- In a small bowl, mix together mayonnaise and miracle whip. Spread onto both sides of the center of each roll.
- Place a slice of ham and a slice of Swiss inside of each roll.
- Close rolls and place them into a large baking dish or heavy cookie sheet. Place very close together.
- In a medium bowl, whisk together all of the poppy seed sauce ingredients.
- Pour mixture evenly over all of the sandwiches. You do not have to use all of the sauce! Just use enough to cover the tops.
- Let sit 10 minutes or until butter sets slightly.
- Cover with foil and bake at 350 degrees for 12-15 minutes or until cheese is melted.
- Uncover and cook for 2 additional minutes or until tops are slightly brown and crispy.
- Serve warm.
Note: Sandwiches can be assembled a day ahead and kept in the fridge ready to bake.


No comments:
Post a Comment
I love reading all your thoughts and comments!